Overview
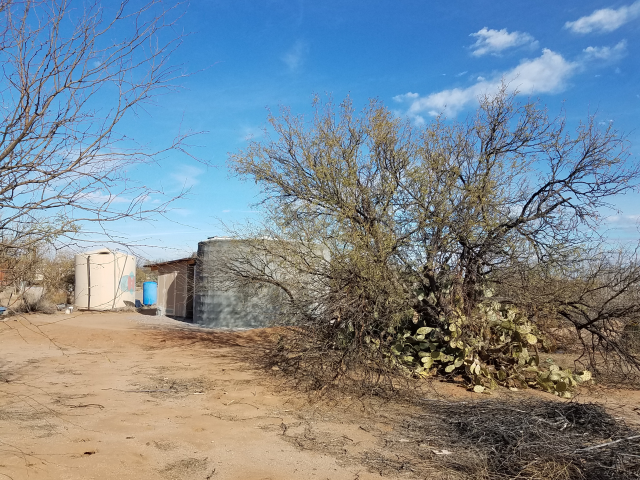
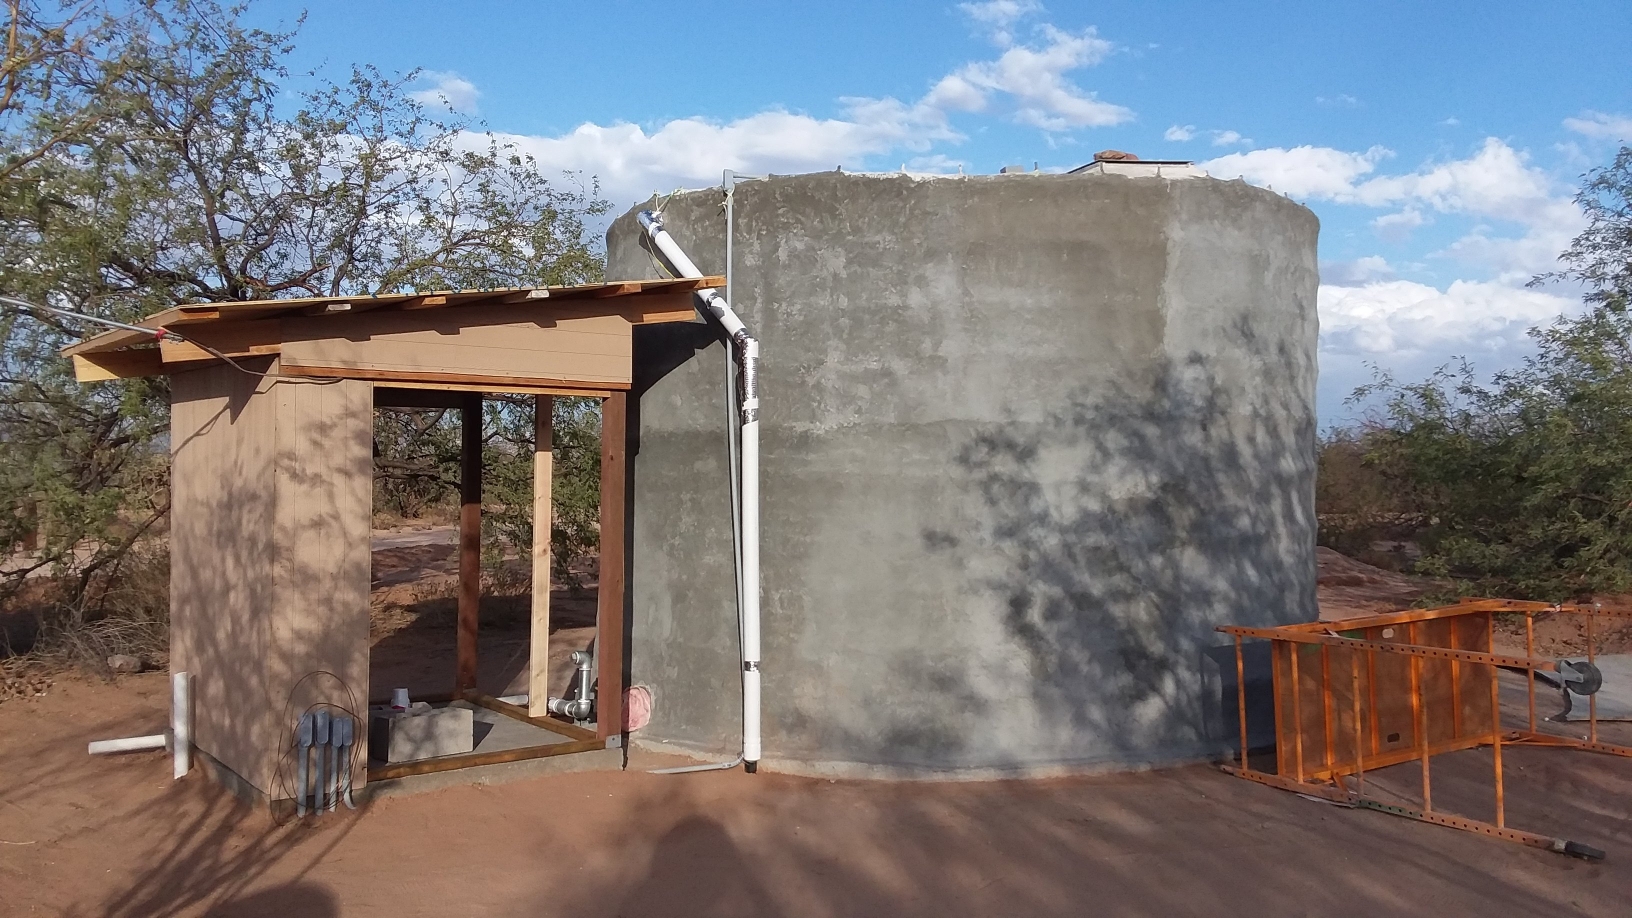
A 15,000 gal. Ferrocement water tank was finally completed and placed in service Dec. 2020. It replaces the rusted out 5,000 gal tank of the original well service installation year 2000. Considering the mission of TSV to explore innovative technology, the active well shares elected to experiment with a ferrocement water tank construction. Ferrocement is estimated to have a life span of 100 years vs. 15 for steel and 25 for plastic. Costs for those types were about $1/gal recently.
The project commenced with a slab pour April 2014.
We also upgraded the well piping, replaced tanks, pumps, and meters, etc.
Costs
Tank materials cost in 2020 was $ 6,000, with another $6,000 over the last 6 years, the estimate of materials $12,000. Well upgrades cost about $10,000.
Labor
Five years of volunteers part time (2 mo./yr), + steady work ongoing since April 2020+ another 8 mo. + others 10 mo.=28 months@160 h/mo= 4480 hrs estimated labor.
Most of the labor exists in the tying and twisting of wire to tighten mesh. A tight wall is stronger and uses less material.
We have considered the ways to shorten labor with pneumatic tools, of which hog ringers and staplers hold the most promise. We adapted a great variety of needle nose pliers, and slotted screwdrivers of which some pneumatic versions would be useful for time and ease.
Spider drones with 2 needle nose pliers arms would be perfect!
A hand/eye inspection and tye at the end is inevitable-feeling/looking to fill and tighten the missing links. The tyeing is complete when the vibration is high in frequency and low in amplitude, inside and outside, top to bottom….you will know!
While we hoped to speed up plastering by using air to blow plaster on the wall, it ended being problematic and by hand was actually faster than the plaster sprayers. Tyeing goes on for months or years, plastering takes days. It’s good to have many hands helping on plastering days.
Method
Ferrocement water tanks are built world wide and can be built on site with locally available construction materials, that include steel (rebar, mesh/lathe, wire), sand and cement.
The method can be art as well as function, tanks existing with shapes of pitchers, urns, etc. may be found on the internet.
An armature of rebar shaped to form, layers of successively finer meshes, all tyed together with clips staple and wire. Then finally plastering with a specific profile of sand:cement (3:1 structural wall, 2:1 or 1:1 finish) Finish plasters inside were finer silica sands (30,60) and white portland cement. Outside finish plaster included some fiberglass fibers ½ length added for extra chipping resistance.
Structural ferrocement requires a significant content of fine grains to fill the smallest gaps and densify the wall. Check your local sand by mixing the dry sands proportionally and observing/shaking in glass jars. We added #60 silica about 1 part to 3 of screened masonry.
Details
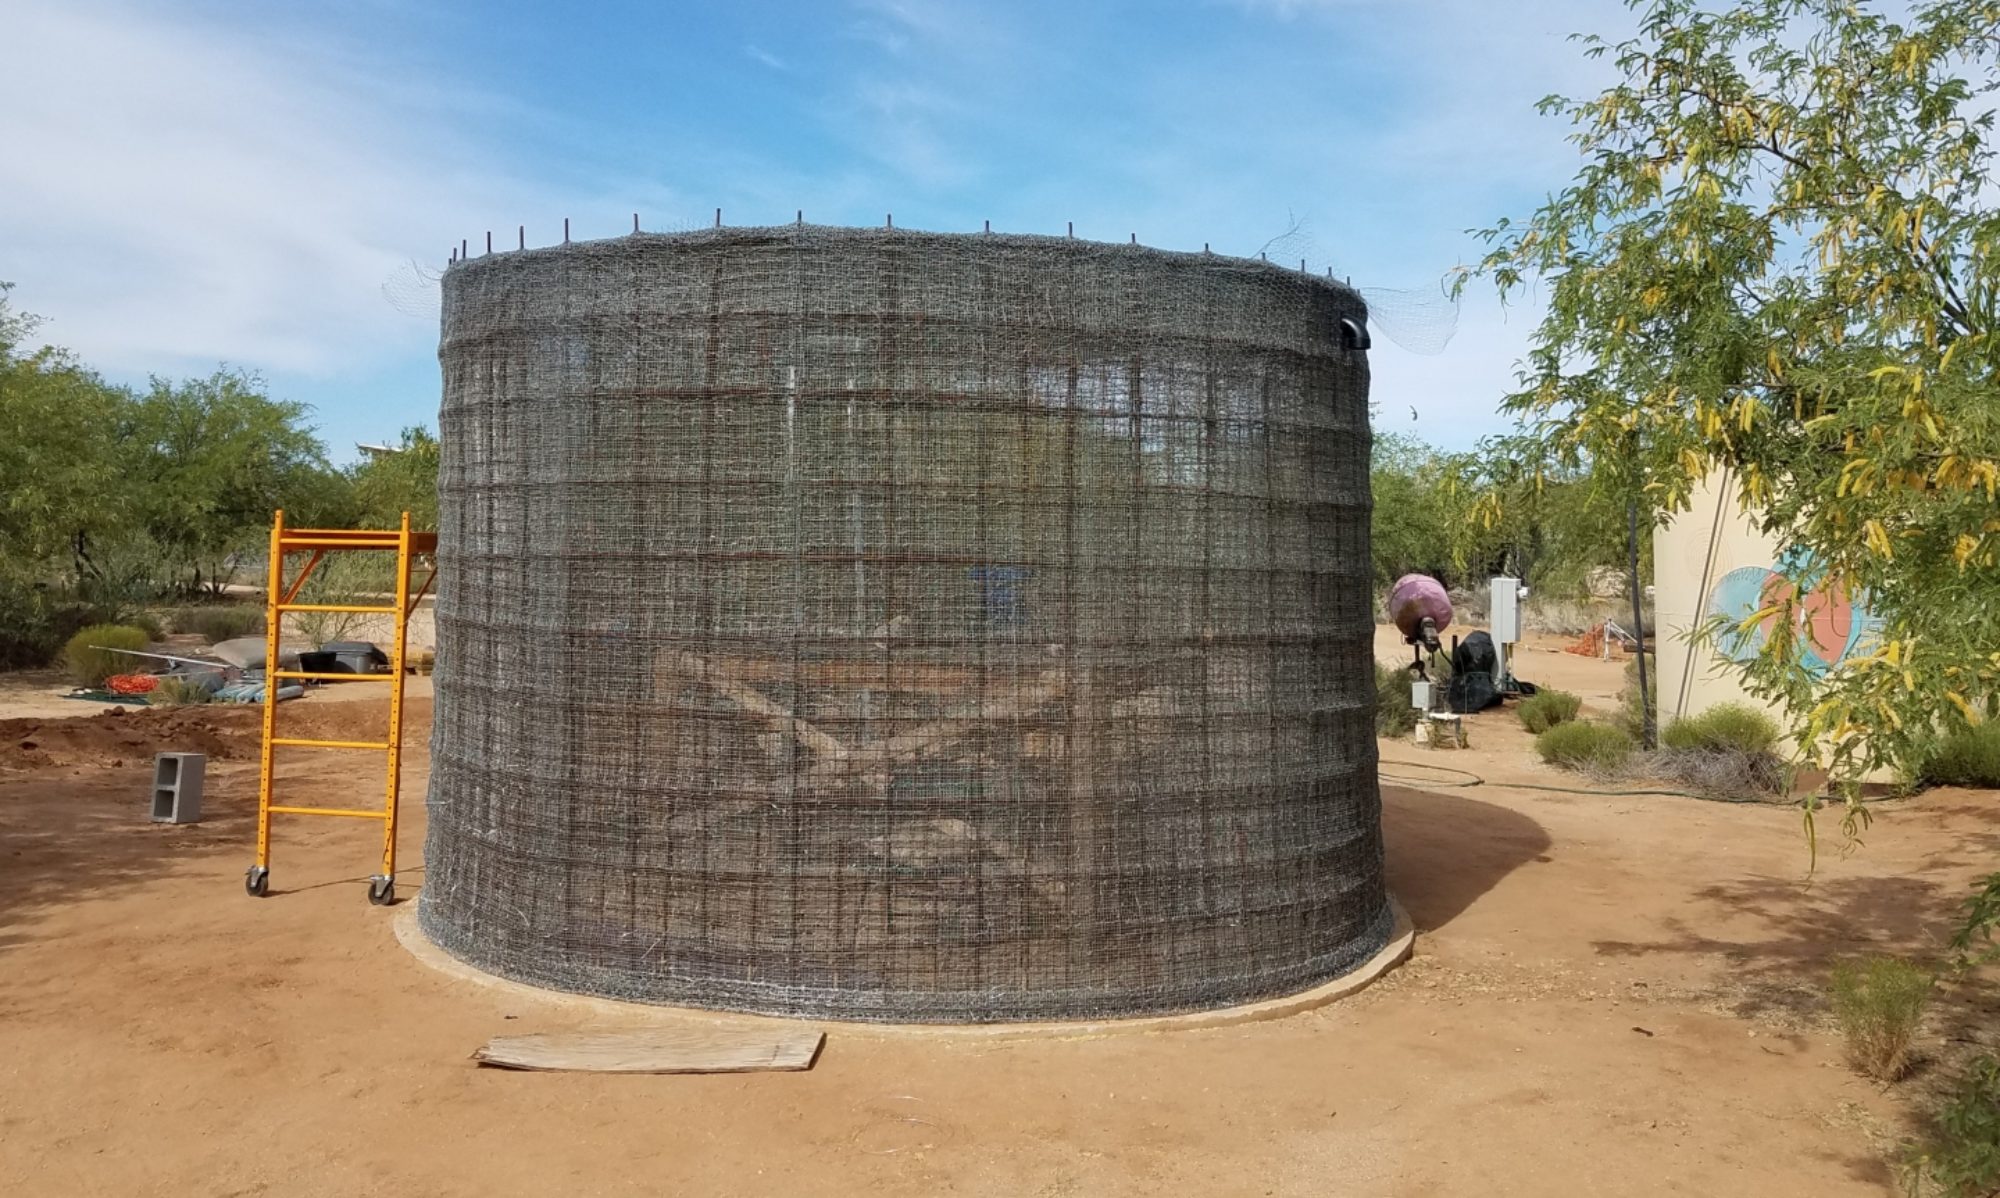
A 16ft dia. 8” slab concrete w 1/2” rebar was poured w stub up rebars every 6” for the first 2 feet up. A note here- remember to embed some mesh layers, we ended cutting a key slot after the fact.
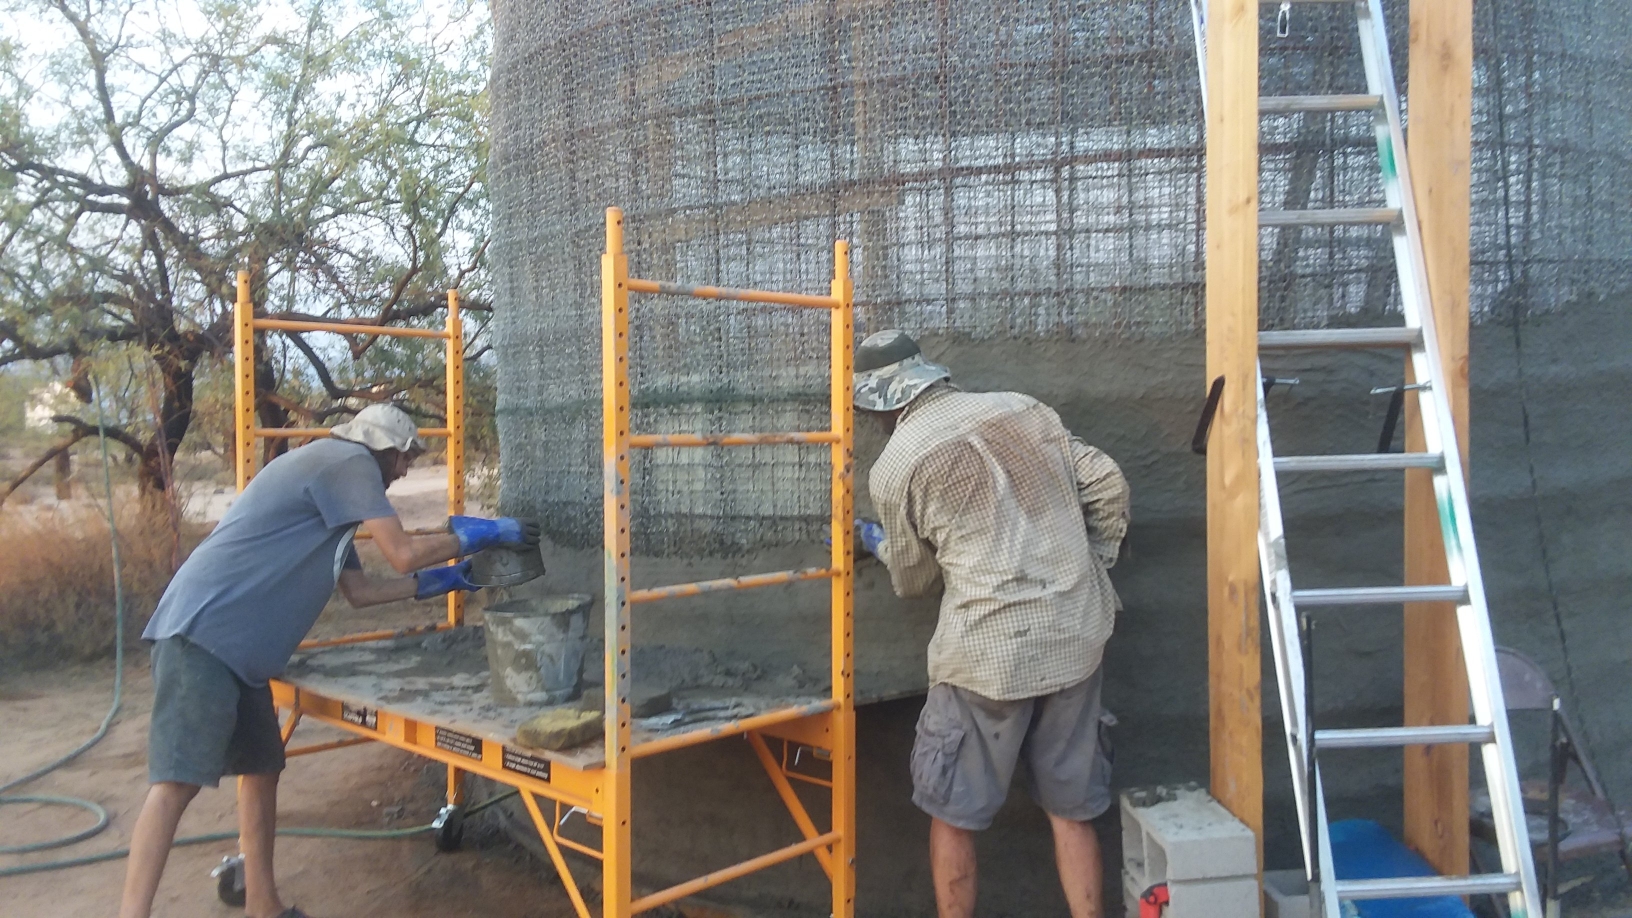
Rebar was placed about 12” oc, rings of 20′ rebar were bent and tyed like around a barrel. At the top a 50ft long ¼ steel cable is integrated a s a tension element along the top of the wall/roof edge. While not needed ultimately for structure, it helped greatly during construction. An out and inside layer of 9 ga. concrete mesh 6”oc tyed on, then layers of 14ga. welded galv. fence 2×4 mesh, then inside finish lath of 1/4” diamond mesh sheets, and outside finish mesh being 3 layers of 19 ga. 1” hex poultry netting. Galvanized tye wire was 14 ga. for rebar/high tension areas, 16 ga. for most layers. Tyeing is best approached as an exercise of pulling the loosest areas in tight until a push over by hand yields little motion. This ensures strength. As this goes on, the waggle of the structure and vibrational character changes to higher frequency. Ultimately the finish tyeing should connect inside to outside tightly spaced about every 2”. Tye to tighten but not over twist or over tighten. Watch, feel, push, remember not to waste time on over tye of the underlayers as you will place finish tyes every 2”.

Along rebar ribs and potential stress areas there are running stitches placed before the finish meshes go on. They tighten the undermesh around the rebar, use 14 or 16 ga. as appropriate. Lengths of wires cut about 1-2′ is about right. Two people can do this- one inside, one outside-however it is also possible to place dozens of stitches inside, then after 1/h hr. climb out and down to pass the through from the other side as one worker. Try to tye so as to catch heavier outer mesh elements and bind them inside to outside at about 2” every stitch. Avoid breaking the mesh. The process of tightening involves a twist and push with a variety of handy tools. Hammering layers together as it goes is helpful.
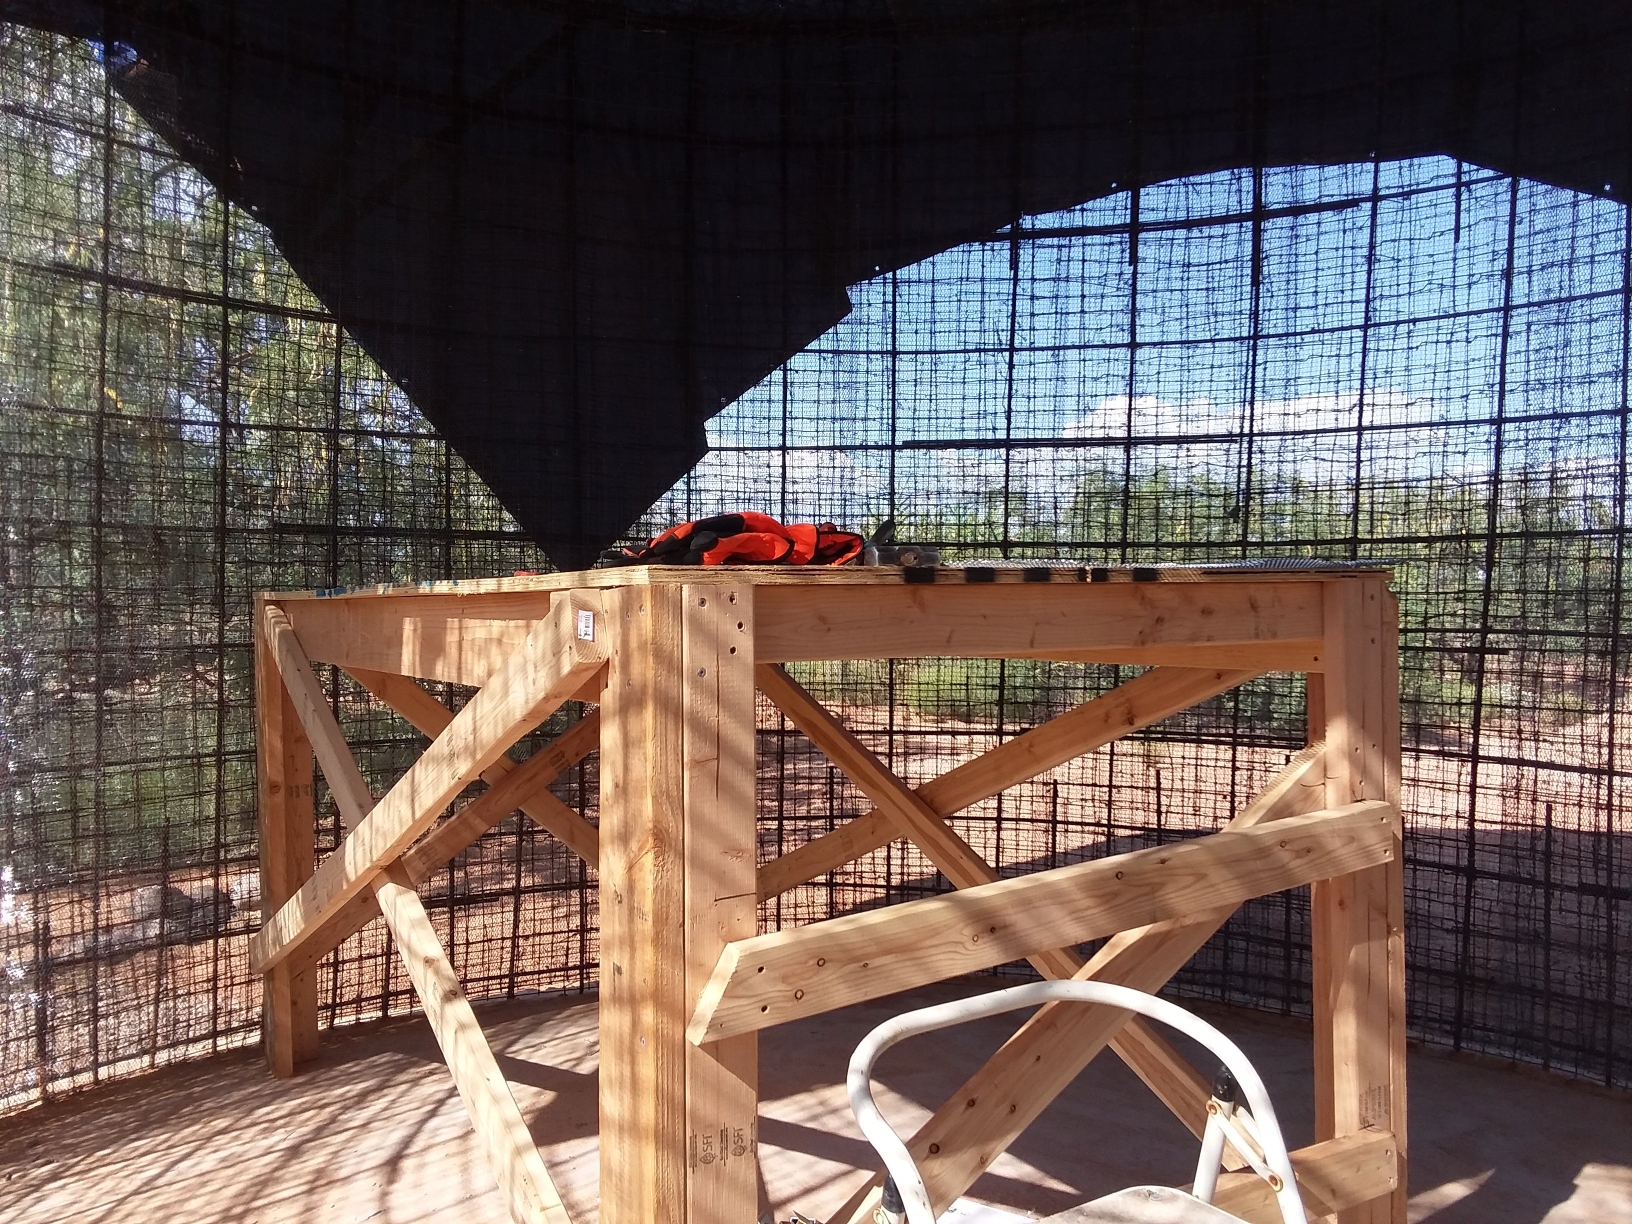
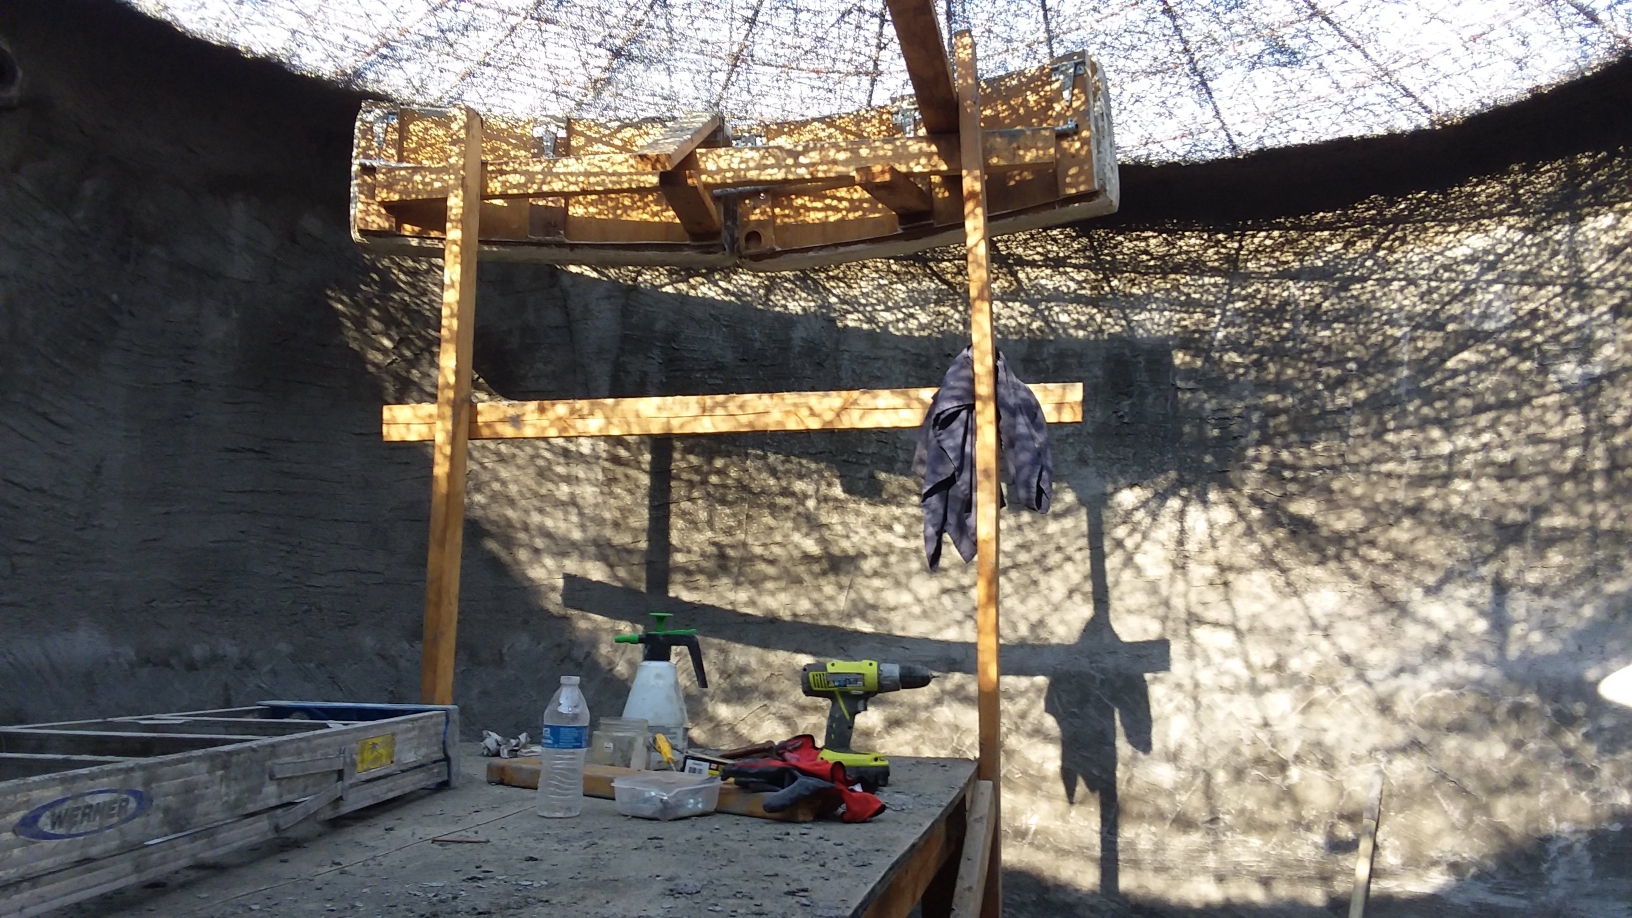
For ease of access an open section of wall was left until the end of meshes tyeing, after that access by ladder to the inside.
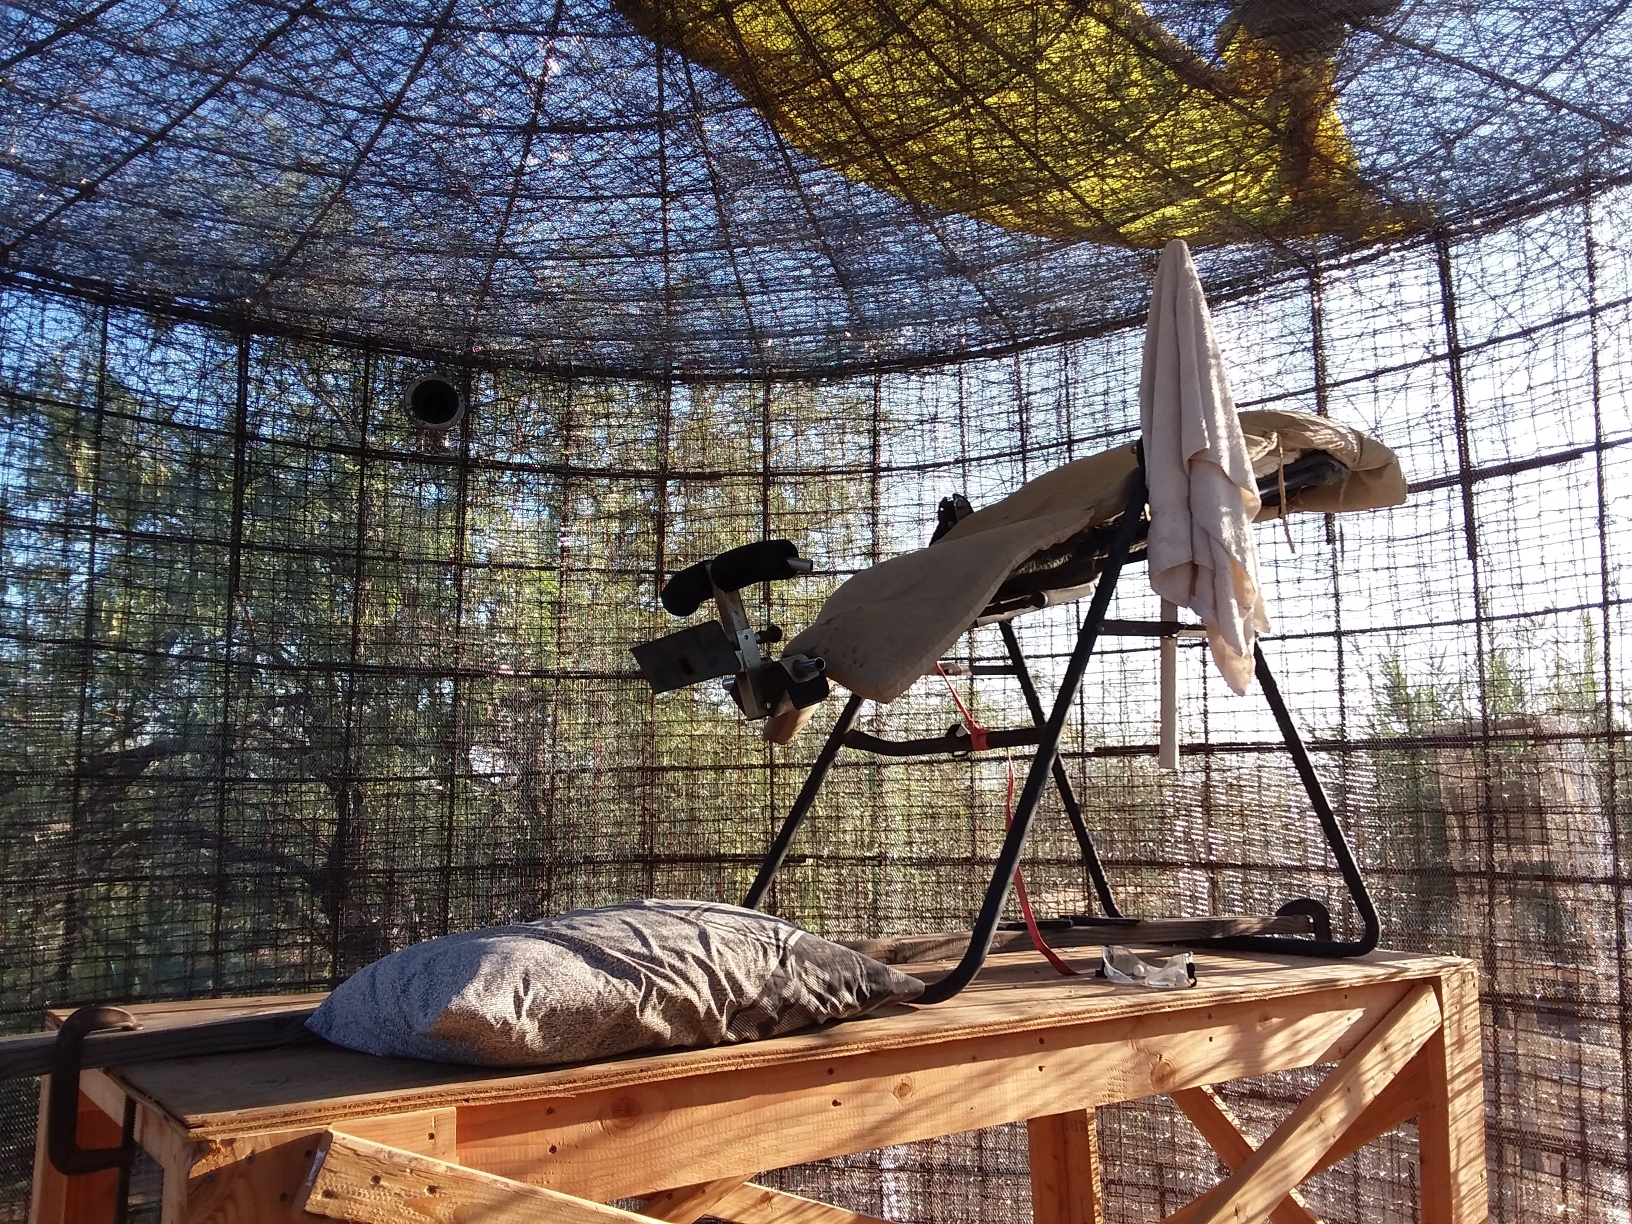
Obviously one wants to minimize the risks of being on ladders, so mobile scaffolds inside and outside were used. For work on the ceiling we adapted a back swing to allow lying to face the ceiling, wearing always goggles, but one’s arms still tire against gravity for hours.
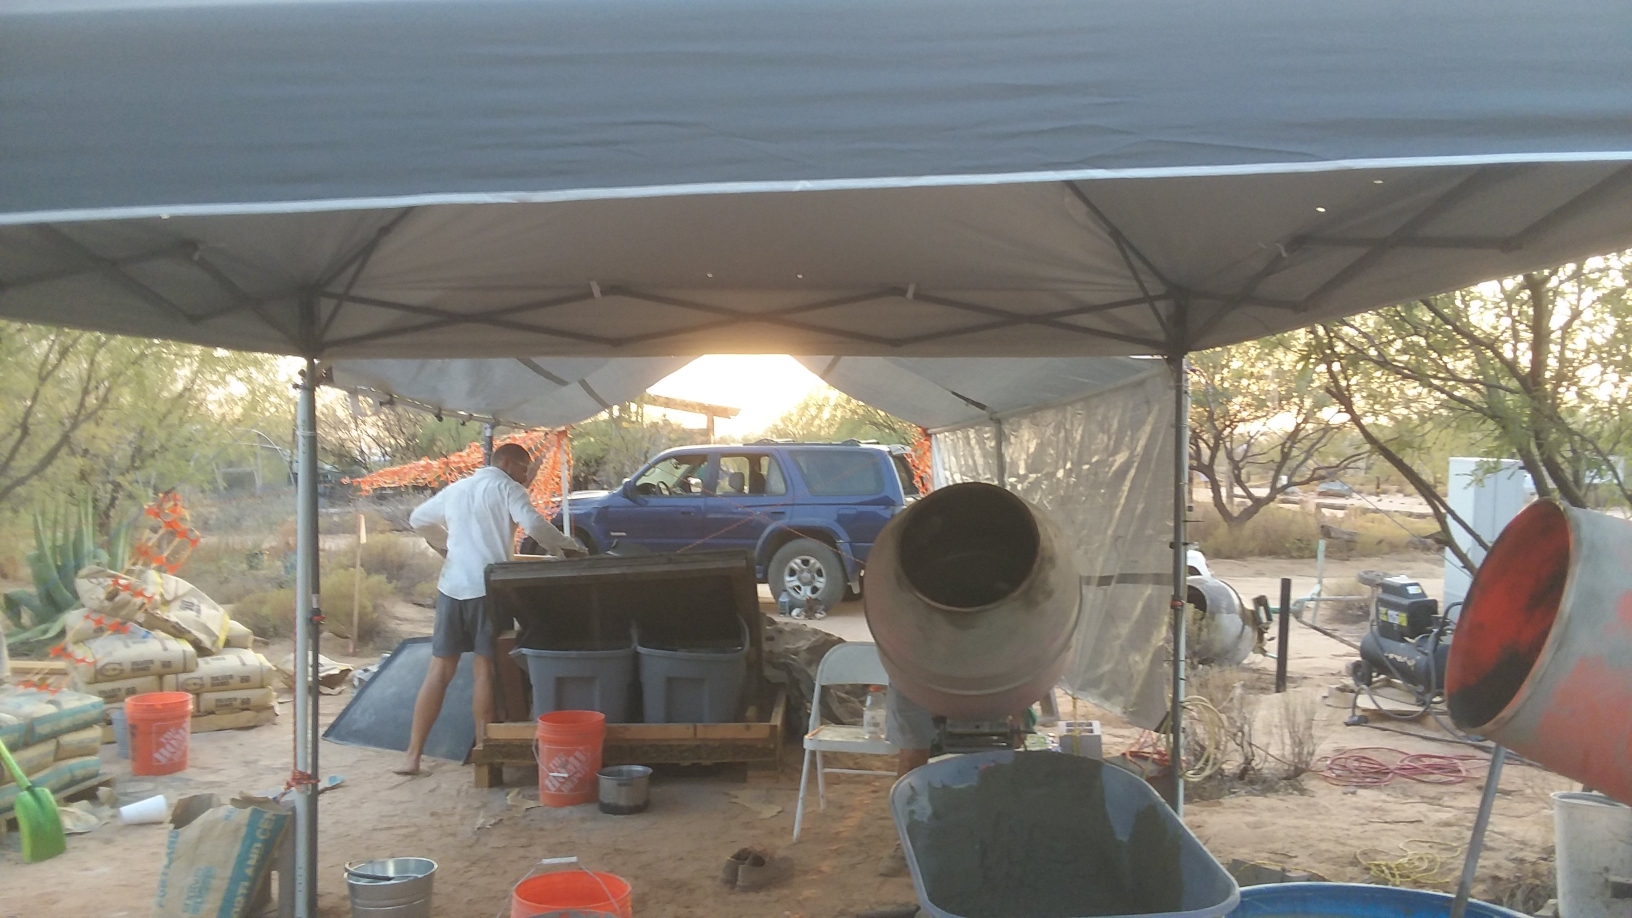
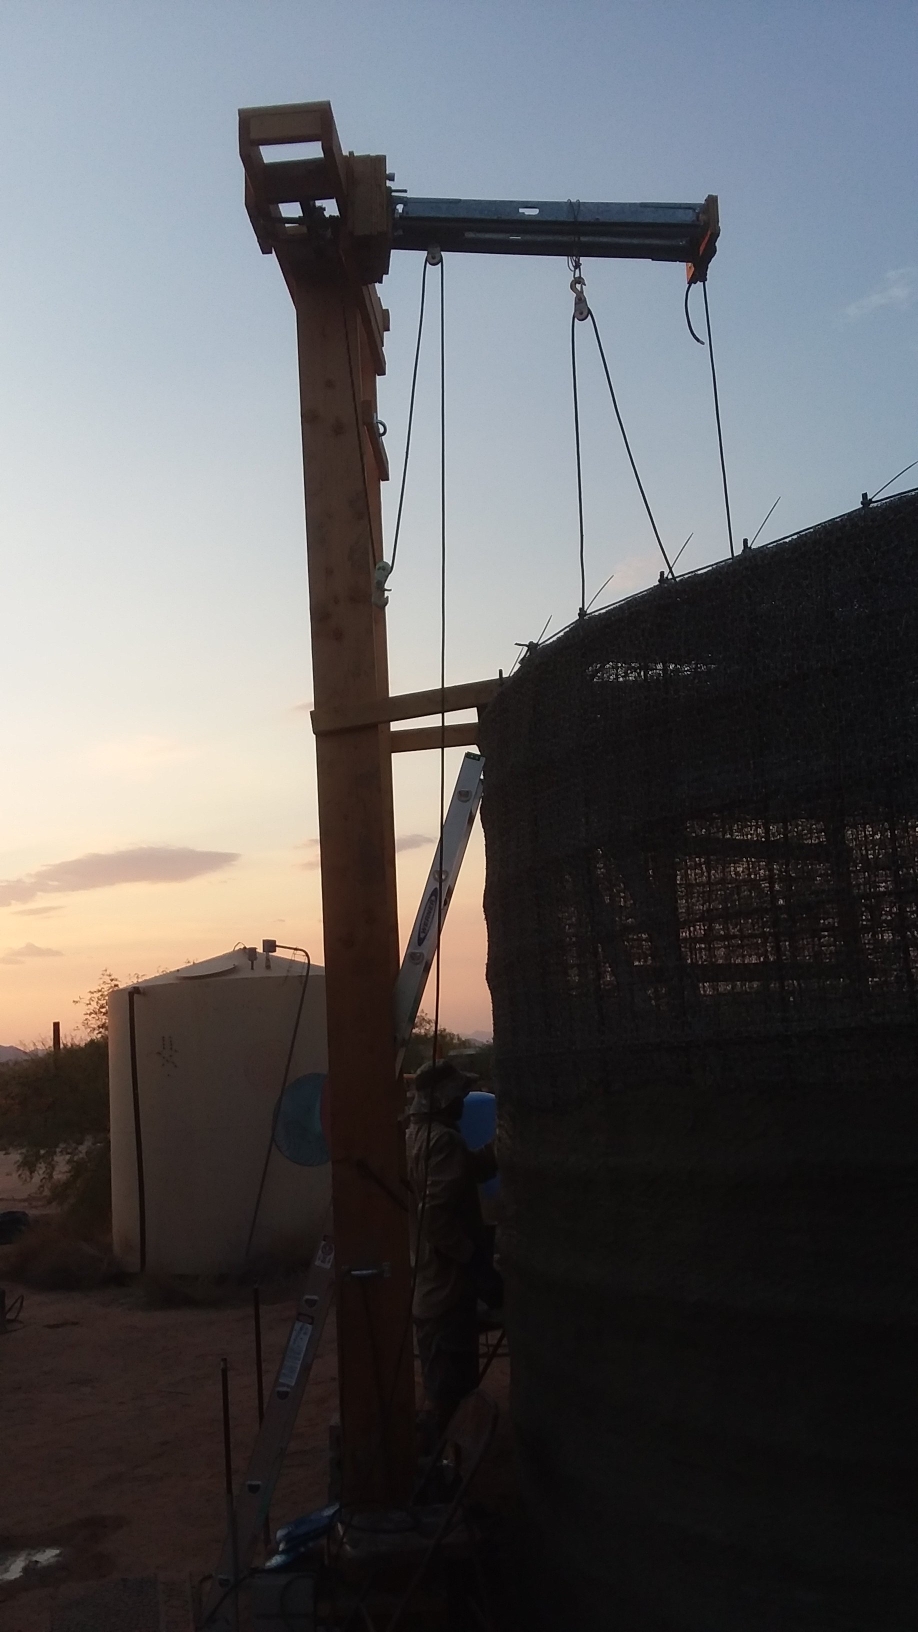
To facilitate transfer of plaster material to the inside we built a hoist boom of pulleys, cables, and metal buckets. Two mixers each about 1 cubic foot alternated on wall plaster days. We did succeed to minimize any potential “cold joint” possibility by plastering up 4′ the first day, the full wall 2nd day, corner the 3rd, roof /ceiling the next days. For ease of plastering most of the plaster was applied through the outside and pushed through the mesh (1”hex layers), through to the wall to the inner layer of diamond mesh which creates a bit of a barrier, but we built curved foam forms to resist the pushing and rotated the whole scaffold around the circle. We adapted a floor blower to provide fresh air inside once the wall and roof were plastered/closed.
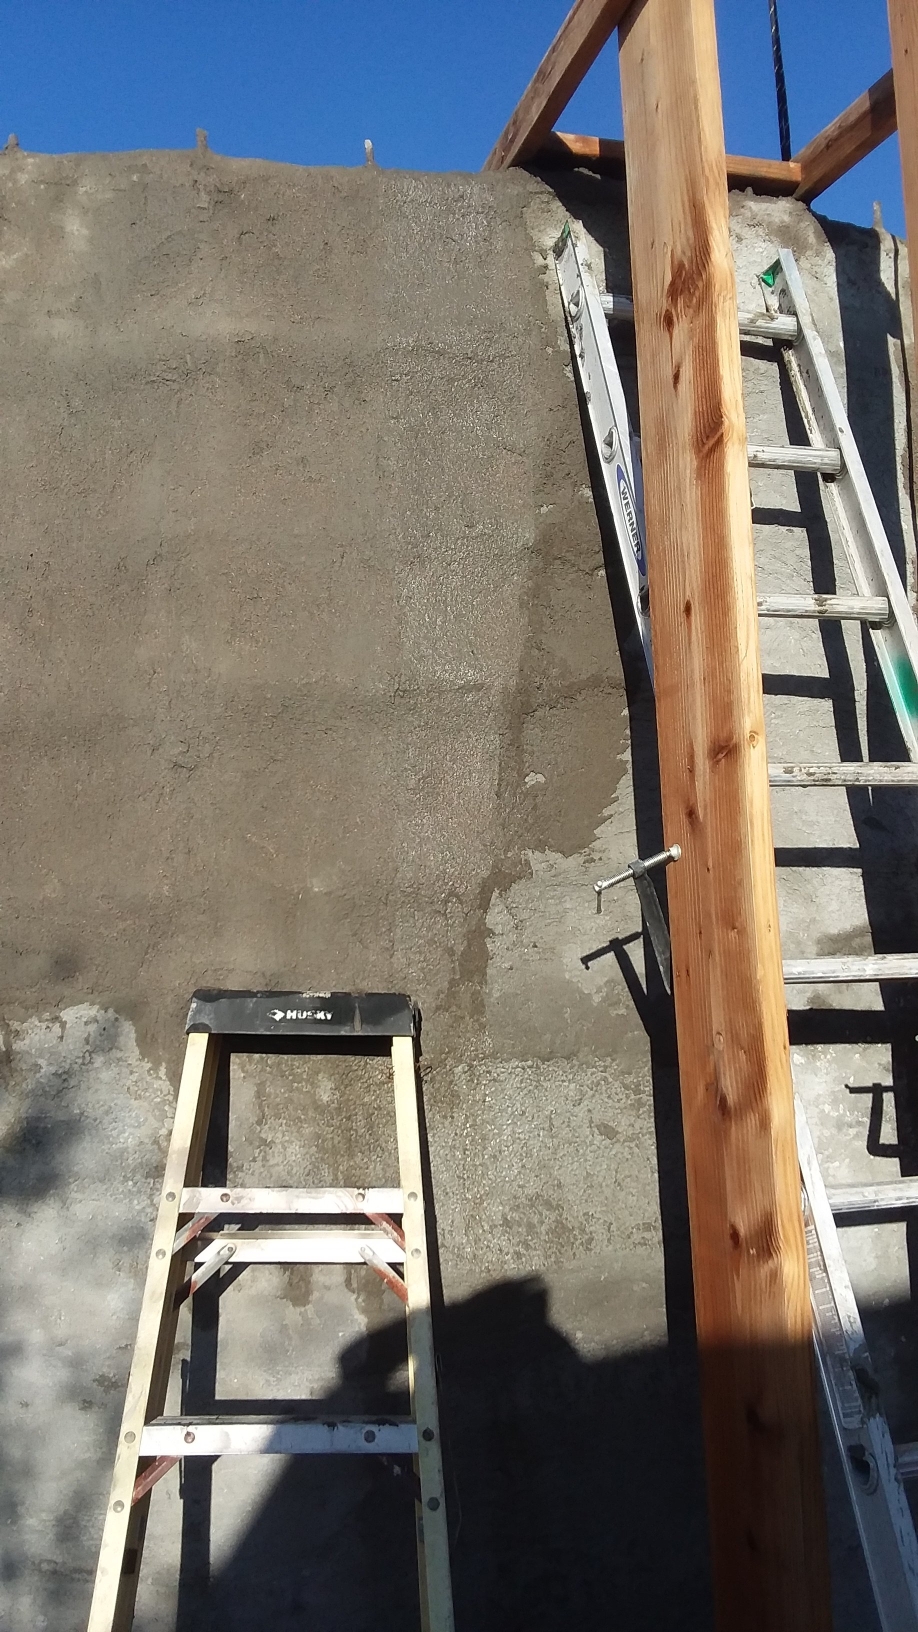
Plaster was made from washed masonry sand screened (<1/8”) against big rocks and debris, which we enriched 1/3 with #60 silica sand to ensure the fines content. Adequate fines and a range of sand particle sizes is important to avoid micro voids. A squeegee like technique of application fills the mesh without voids. We used orbital sanders to vibrate/settle plaster into mesh. 1 or 2 people on the inside were able to inspect /fill in and trowel the inside rough wall to 1/4+ layer over diamond mesh. Outside was also about 1/4+ over the hex layer. Finish plasters went on after weeks long cures of the structural wall inside and out. We kept the walls regularly wet/watered 24/7 for weeks. Finish plasters inside were a first layer of #30 silica and white portland cement ration 1:1, followed a layer #60 silica sand, same ratio. First finish plaster on outside of grey cement included lime at maybe 1/6-1/8, and were half each mix of #20/30 silica sand with ½ inch chopped fiberglass big (gloved) handful or 2 each mixer load, acrylic admixture for strength. The final outside layer being a 30/60 silica sand blend no lime, no fiberglass. Be sure to mix liquids well with finish plasters before adding sand. We used a drill mixer. The rooftop was plastered with a final layer having white cement.
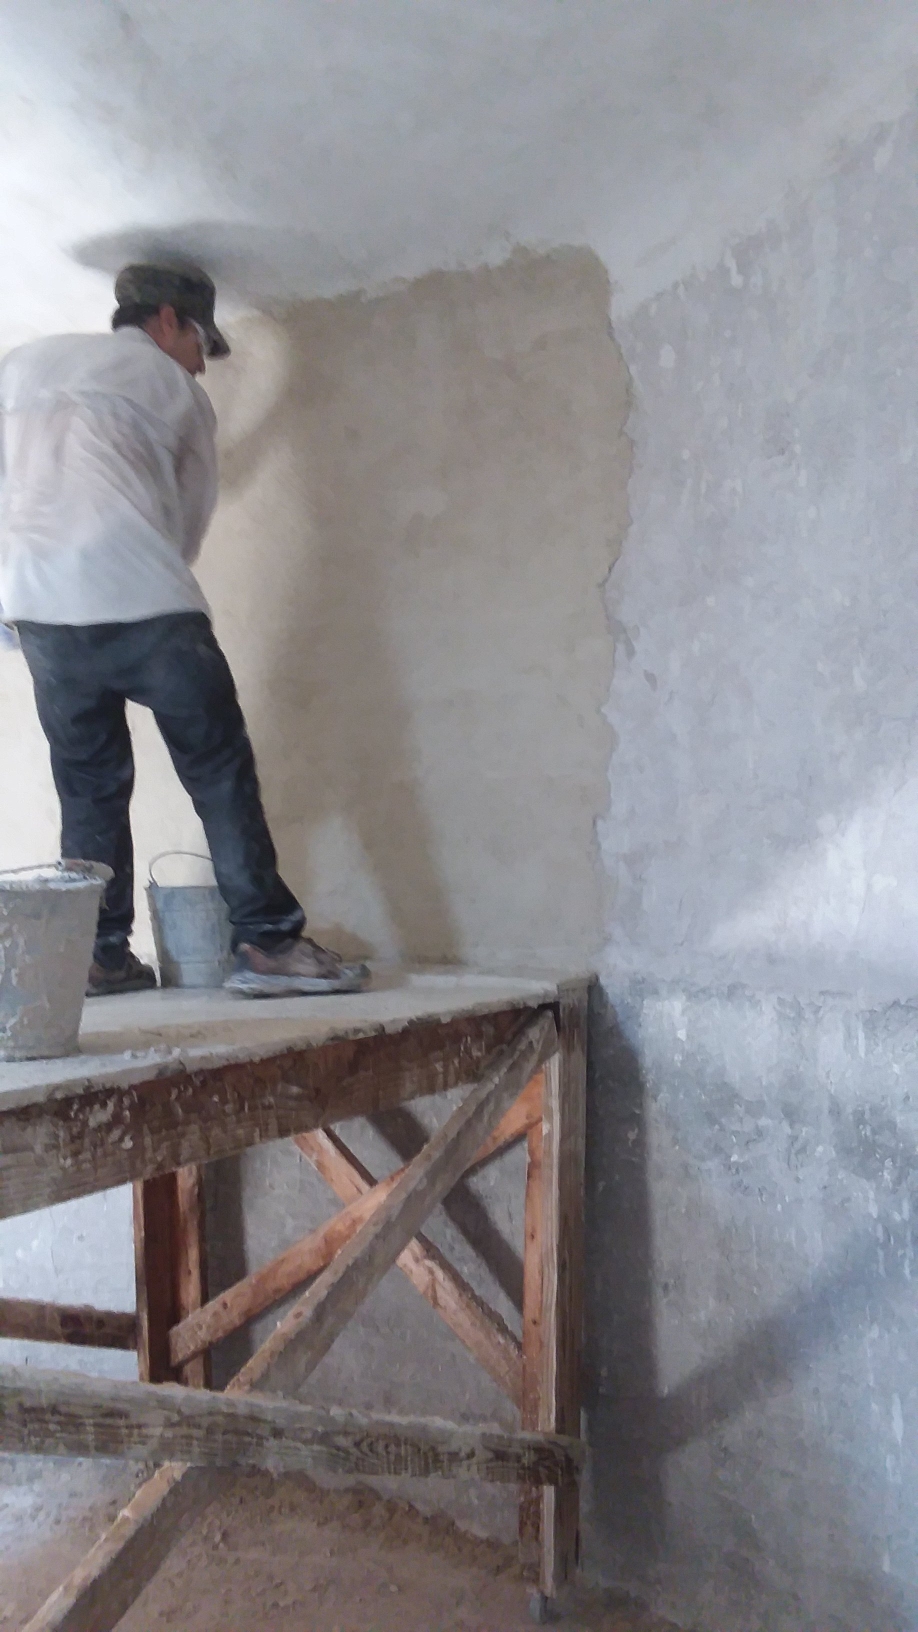
Our ultimate wall thickness is probably 3” at bottom, maybe 1.5” top, minimum of 1+” anywhere.
Rubbing bricks are useful for scraping between layers of plaster, use mask/filters vs the fine dust.
We incorporated ¾ emt conduit ports in the top, a hatch cover opening/metal hatch door, A built in 2” ABS inlet and 3” ABS overflow w screen.
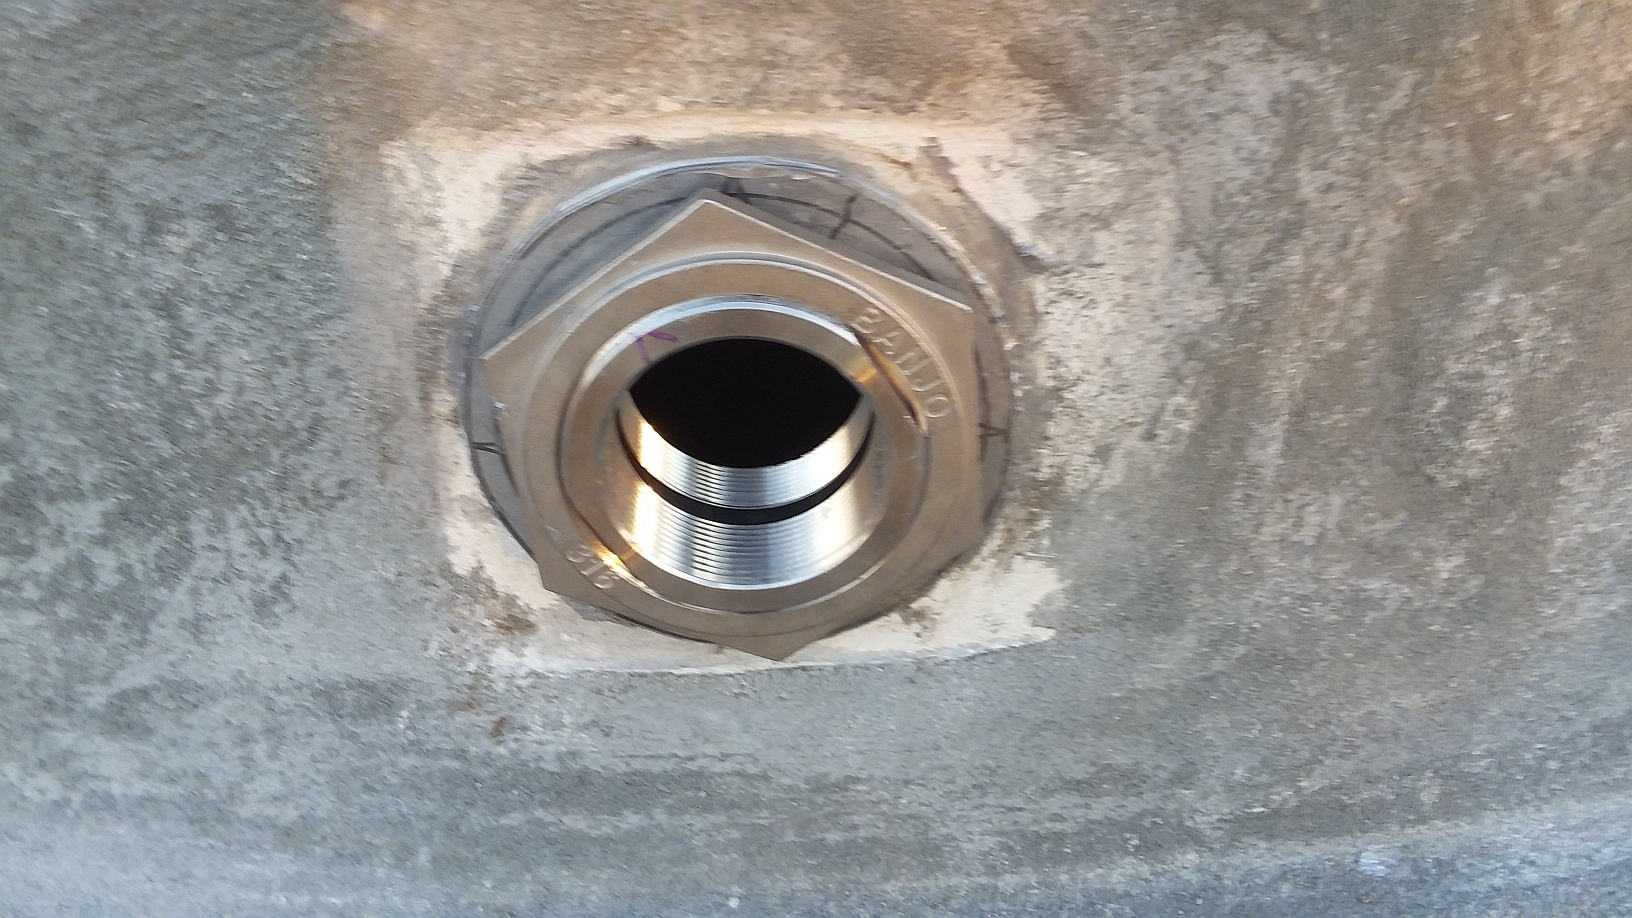
The tank outlet at the bottom requires some special care in design and plastering.The opening must resist vibration and motion to prevent leaks or wall cracks. It is reinforced w extra mesh to accommodate the 3” stainless steel flange. Extra spiral 16 ga. tye locks the opening hole, ultimate wall is uniformly thick = 1.125”, with mostly #60 sand to help penetrate diamond mesh inside and out-not chicken wire outside here, some 4” tubular formwork was used to facilitate casting/packing the meshwork. Piping outside is anchored to earth substantially to prevent motion. We made our own flange wrenches.
The outside top is sealed with acrylic masonry sealer, to be followed with reflective white rubber paint.The wall has cured over the last months after filling with random smallish areas that gradually moistened and then dried out with obvious calcium salt deposit. Our water is calcium rich and pH 8.2 from the ground, for which we surmise the tank cure is calcium self sealing. When this curing is completed we will also seal and coat the tank outside for weather protection, and paint an artistic mural. A perimeter of 4ft around the tank is rocked/sand locked to prevent burrowing critters under the tank.
A tiny well house was built adjacent to the tank for well for pumps, tanks and controllers.
Future Projects
We will continue to monitor tank performance over the years, we may at some point insulate the tank roof. We also are resuming work on a smaller (3000 gal ) subterranean roof water catch tank, also ferrocement.
There is some interest to use the same armaturing technique and foamed cement walls for mobile shelter.
Some amazing acoustic properties of our 15,000 tank (16×10) with conical top include sustains of over 10 seconds through a very wide frequency vocal response, and audible triple order harmonics!


